

Mastering the Press: A Step-by-Step Guide to Applying Your DTF Transfers
- Ryan Nash
- Mar 1
- 5 min read

You've got the designs. You've got the blanks. Now it's time to make magic happen.
Whether you're running a side hustle from your garage or scaling a full-blown apparel brand, knowing how to properly apply DTF (Direct to Film) transfers is the difference between "Wow, did you make that?" and "Uh... what happened to your shirt?"
The good news? It's not rocket science. With the right technique and a little patience, you'll be pressing like a pro in no time. And if you mess up? Our 6-month craftsmanship warranty has your back.
Let's break down exactly how to apply your Signsinsymbols heat transfers: whether you've got a professional heat press or you're working with a trusty household iron.
What You'll Need Before You Start
Before we dive into the methods, let's make sure you're set up for success. Here's your checklist:
For Heat Press Users:
Heat press machine (duh)
Teflon sheet or parchment paper
Lint roller
Your DTF transfer from Signsinsymbols
Your blank garment (pre-washed is best)
For Iron Users:
Household iron with adjustable heat settings
Parchment paper or thin cotton cloth
Hard, flat surface (ironing board works, but a table is better)
Lint roller
A little extra patience
No matter which method you're using, always start with a clean, wrinkle-free garment. Use that lint roller to pick up any debris, and lay your shirt flat. Trust us: prepping properly saves you from heartbreak later.

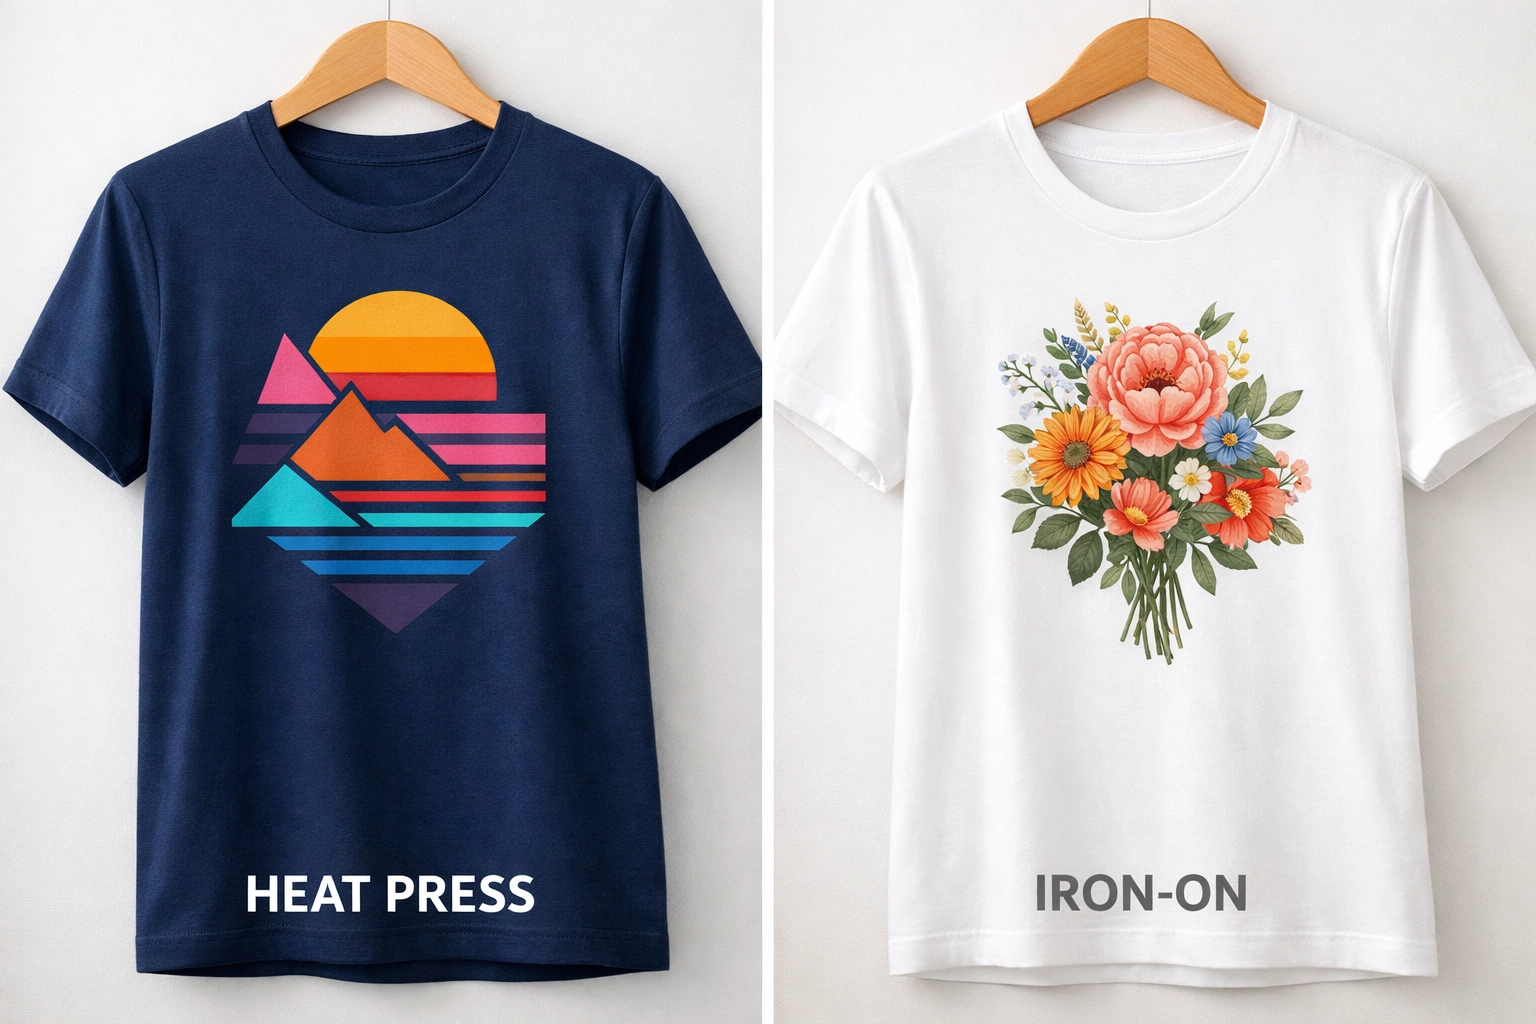
Method 1: Using a Heat Press (The Pro Route)
If you've invested in a heat press, you're already ahead of the game. Here's how to get flawless results every single time.
Step 1: Preheat Your Press
Set your heat press to 300-320°F (150-160°C). This is the sweet spot for DTF transfers on cotton, poly-cotton blends, and most performance fabrics.
Give your press a few minutes to reach temperature and stabilize. While you're waiting, preheat your garment for about 5 seconds to remove any moisture and wrinkles. This creates the perfect canvas for your transfer.
Step 2: Position Your Transfer
Lay your garment flat on the lower platen. Make sure seams, buttons, and zippers are completely off the pressing area: you want an even, flat surface.
Place your DTF transfer printed side DOWN on the garment. The design should be touching the fabric directly. Take your time centering it exactly where you want it. There are no do-overs once you press.
Pro tip: Use heat-resistant tape on the corners if you're working with smaller designs or want to be extra cautious about shifting.
Step 3: The Press
Cover your transfer with a Teflon sheet or parchment paper. This protects both your design and your press from any adhesive residue.
Close your press with firm, even pressure and set your timer for 10 seconds. Don't wimp out on the pressure: you want full contact between the heat platen, the transfer, and the fabric.
When the timer beeps, open the press and check that the transfer film looks evenly adhered. You should see the design clearly through the film.
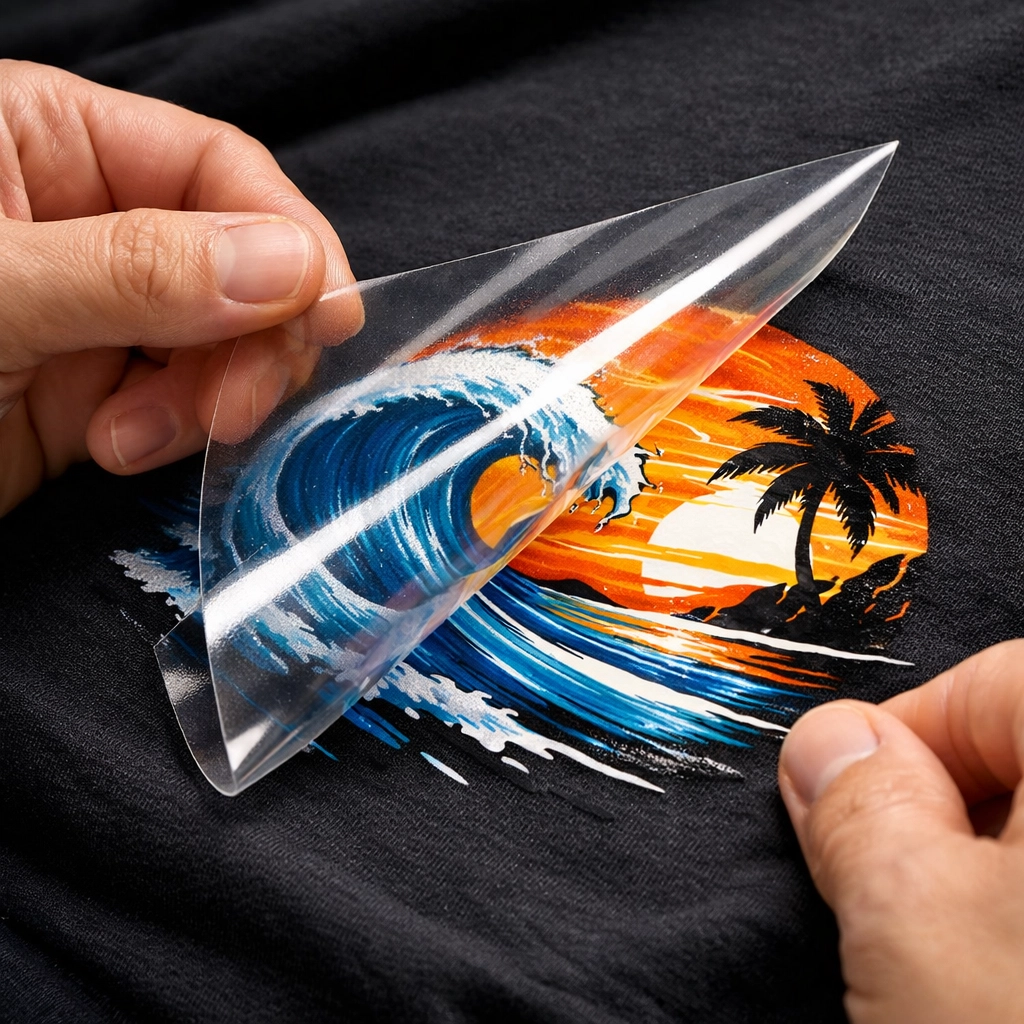
Step 4: The Peel
Here's where technique matters. For most DTF transfers (including ours), you'll want to do a cold peel for maximum durability.
Let the garment cool for about 15-30 seconds. When it's cool to the touch, gently peel back the transfer film at a 180-degree angle: slowly and smoothly. If you feel resistance, stop and let it cool a bit more.
Step 5: The Finishing Press
This step separates good from great. Cover your freshly applied design with parchment paper or a Teflon sheet, then press again for 5 seconds at the same temperature.
This "finishing press" seals the design, smooths out any texture from the film, and ensures you get the longest-lasting, most professional-looking result possible. It's the secret weapon most beginners skip.
Method 2: Using a Home Iron (No Press? No Problem!)
Don't have a heat press yet? You can still create professional-quality transfers with a regular household iron. It takes a bit more patience, but the results are solid.
Step 1: Prep Your Iron
Set your iron to the highest heat setting: usually marked as "Cotton" or "Linen." Make absolutely sure the steam function is OFF. Steam is your enemy here. It creates moisture that interferes with the adhesive and can ruin your transfer.
Let the iron heat up for 3-5 minutes. You want it screaming hot.
Step 2: Set Up Your Work Surface
Find a hard, flat surface. An ironing board works, but a table covered with a towel or two creates better pressure. The firmer the surface, the better your results.
Place your garment flat on the surface and smooth out any wrinkles.
Step 3: Position Your Transfer
Just like with the heat press method, place your transfer printed side DOWN on the garment. Position it exactly where you want it.
Cover the transfer with parchment paper. This is non-negotiable: direct iron-to-transfer contact will ruin everything.

Step 4: Apply Heat and Pressure
Here's where the iron method differs from regular ironing. Instead of gliding the iron around like you're pressing a dress shirt, you're going to apply firm, downward pressure in one spot at a time.
Press down hard for 30-45 seconds per section. Really lean into it. Move to the next section and repeat until you've covered the entire design. Overlap your sections slightly to ensure even heat distribution.
For larger designs, you might need to work in 3-4 sections. Be patient. Rushing this step is the #1 reason iron applications fail.
Step 5: The Peel and Finish
Let the garment cool completely: this is crucial with the iron method. We're talking 2-3 minutes of hands-off cooling time.
Once cool, slowly peel back the transfer film. If it's not releasing cleanly, you might need to go over that section again with the iron.
After peeling, cover the design with parchment paper one more time and do a final press: 30 seconds with firm pressure over the entire design. This locks everything in.
Pro Tips for Both Methods
✅ Always test first. If you're working with a new fabric type, do a test press on an inconspicuous area or scrap fabric.
✅ Pressure matters. Whether you're using a press or an iron, wimpy pressure = poor adhesion. Commit.
✅ Don't wash immediately. Wait at least 24 hours before the first wash to let the adhesive fully cure.
✅ Inside-out washing. Wash your finished garments inside-out in cold water. Air dry or low heat in the dryer for the longest life.
✅ Avoid fabric softener. It breaks down the adhesive over time. Skip it on anything with heat transfers.
The Signsinsymbols Difference
Here's something you won't get from every transfer supplier: our 6-month craftsmanship warranty. If your transfer cracks, peels, or fades within six months when applied and cared for properly, we'll make it right. No questions asked.
Why? Because we stand behind the quality of every single transfer that leaves our shop. We're veteran-owned, locally operated here in O'Fallon, IL, and we treat your business like it's our business.
Our DTF transfers are designed to withstand commercial washing and heavy wear. When applied correctly using the methods above, you're looking at transfers that last wash after wash, wear after wear.
Ready to Press?
Whether you're team heat press or team iron, you now have everything you need to create professional-quality custom apparel. The technique is simple, but the details matter. Take your time, follow the steps, and you'll be cranking out beautiful designs in no time.
Got questions? Running into issues? Reach out to us at Signsinsymbols. We're here to help you succeed: because when you win, we win.
Now get out there and make something amazing. Your heat press (or iron) is waiting. 🔥


Comments